Sunday, March 27, 2011

Lady In Red

Because I am a lady dammit!

I started on a dress a while back, a dress that was a bit of a daunting project. Now I don't often come across a project that I will look for any and every excuse not to work on it, whether I'm daunted by it or I just plain don't want to do it (I.E. Sunshine yellow ruffled pirate shirt *twitch*) this has been one of Those projects. Well I finally finished it last night, getting it hemmed very very late, much later than I had intended, but I did Other Things during the day (I cleaned ALL THE THINGS one last time for my wonderful friends before I leave ((OMG I LEAVE TO GO HOME TOMORROW!!!))) But the point is that I finished it and I'm even wearing it right now (I'll have to take it off soon to go load my car, dresses are not good for such things)
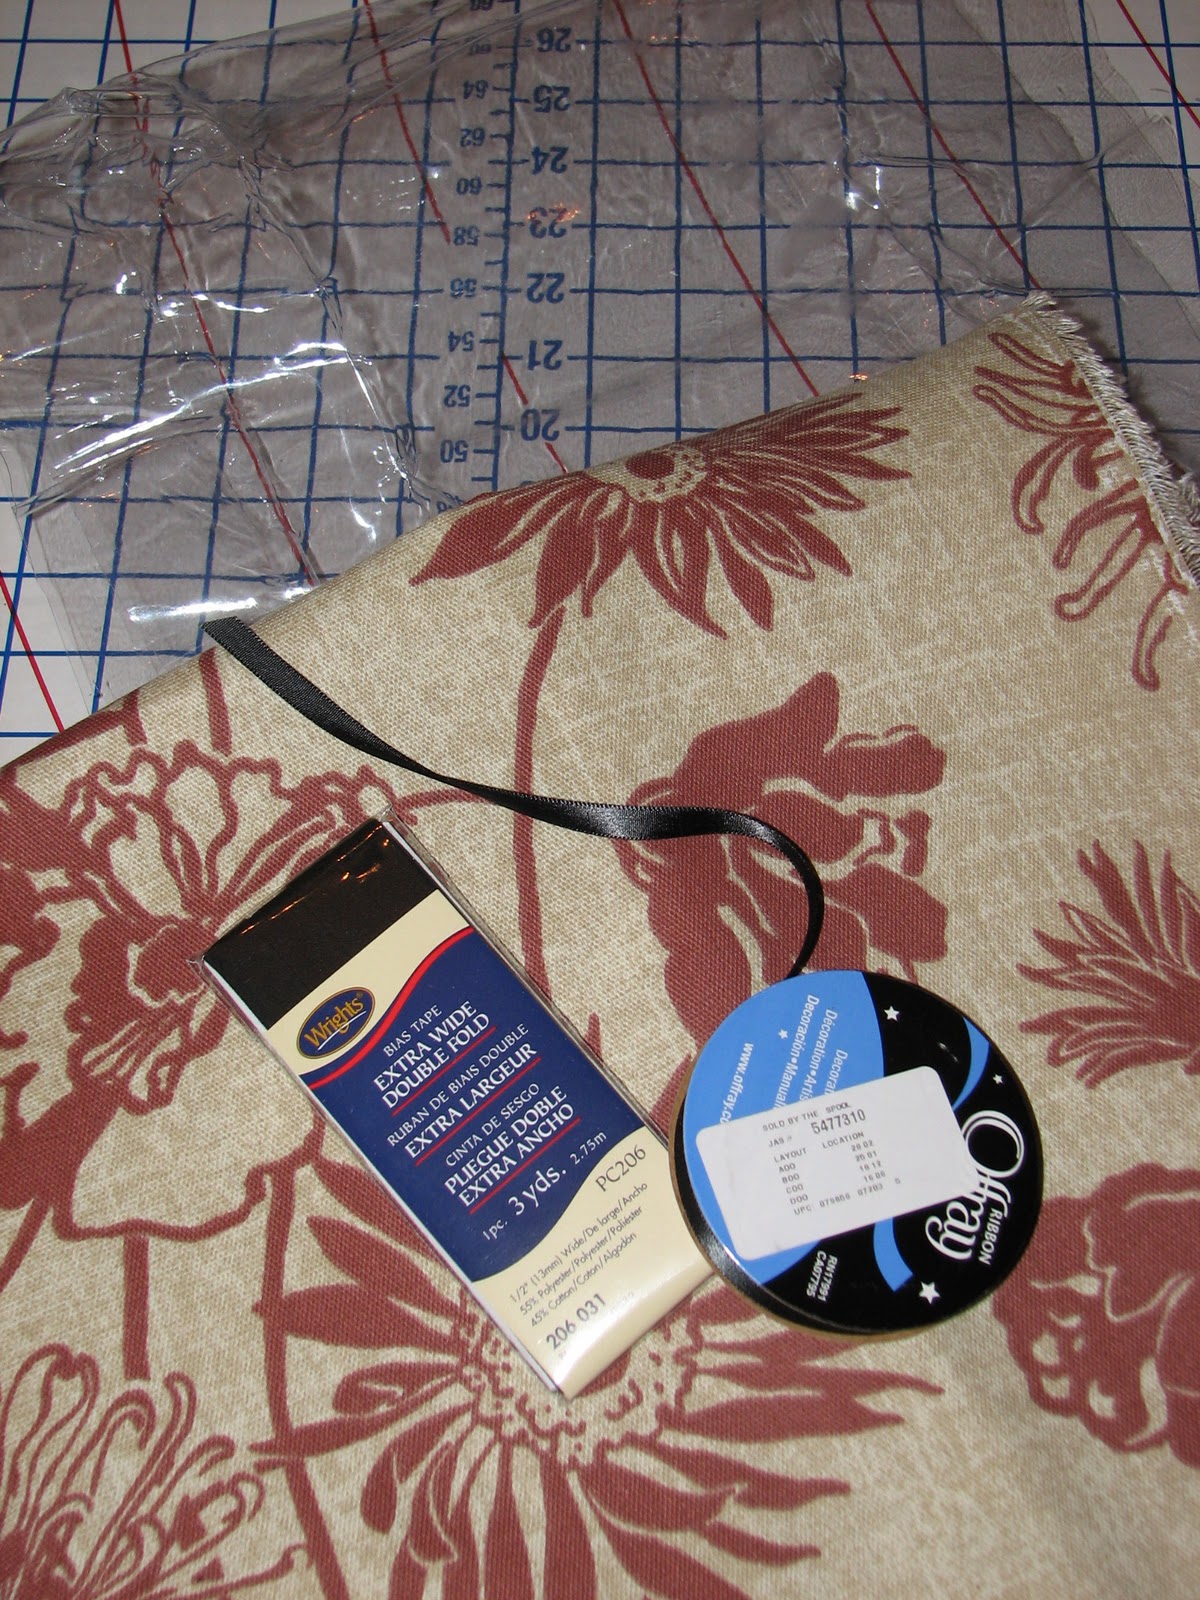
The material I chose for this dress was actually given to me, I'm not insane enough to buy this stuff myself... It is stretch velvet and a pain in the ass to lay out, cut out, and sew on (sounds like fun, huh?) and the pattern I chose is a lovely princess seamed, full circle skirted, floor length dress. What could possibly go wrong?

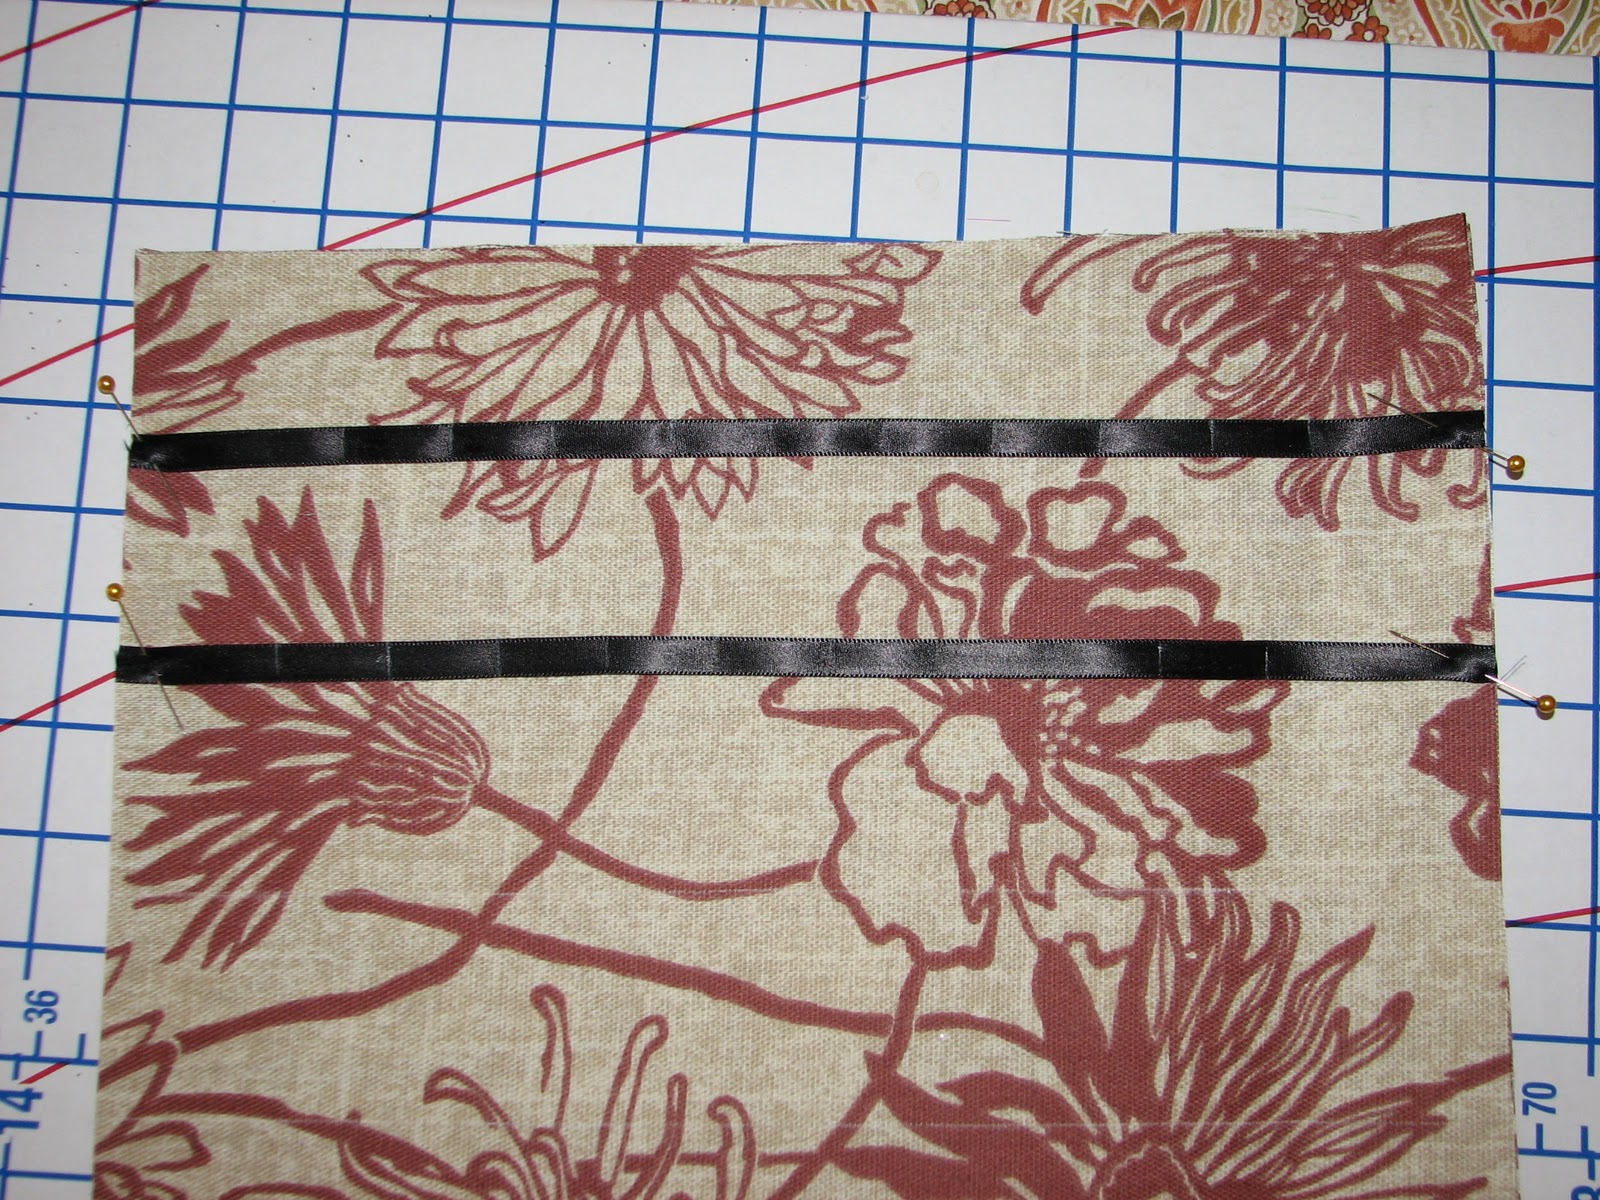
First, Catt and I combined our Epic Seamstress Powers and made the dress, that called for 8.5 to 9 yards of material, fit on 5 and a smidge yards of fabric (and yes, smidge is a technical term) and then the cutting out began.
After procrastinating a few days I finally put together the the front.

and then I finally put the rest of it together and procrastinated another day and a half before doing the hem. The 7 and a half yard hem...


and now i have a pretty dress to wear to faire!
Yay! Woo! Party!

One of the other projects I used to procrastinate I was actually commissioned to do for a friend.
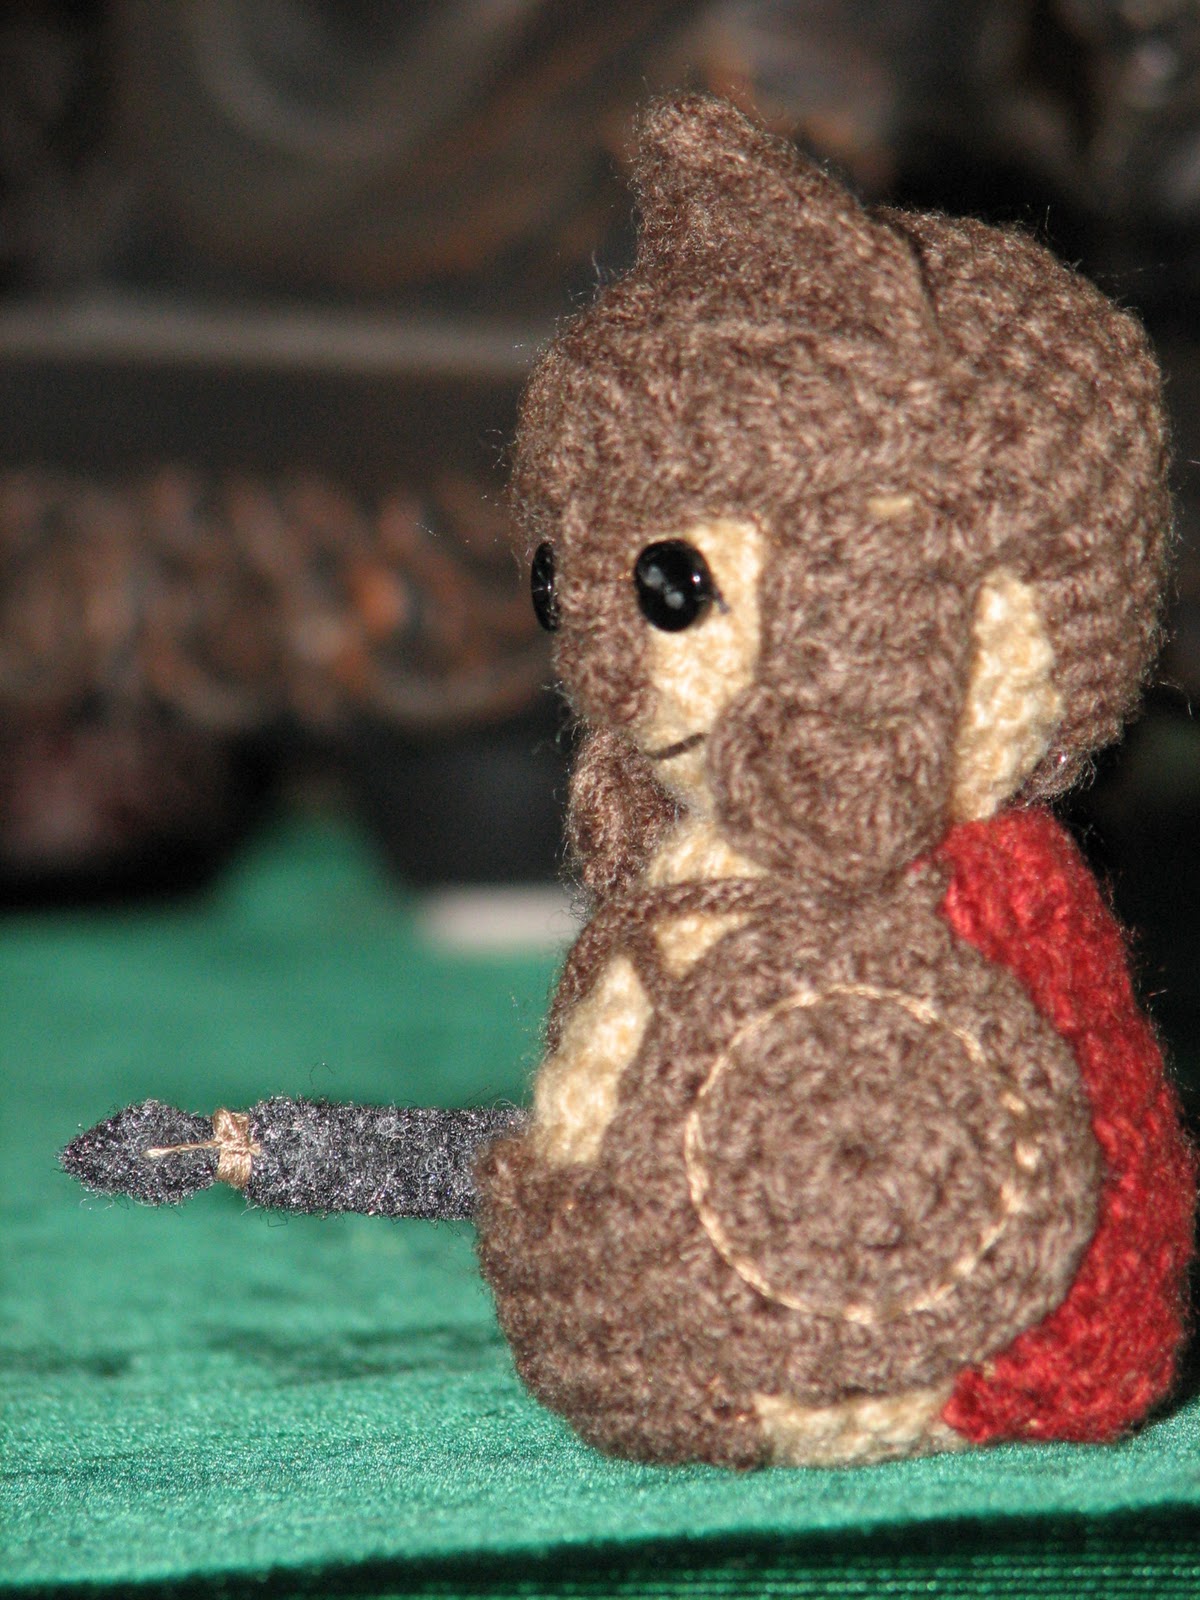
I was talking about my Pin Babies with a Catt and Amanda and we were giggling as Catt's owl was getting filled up with pins and Amanda suggested I try a hedgehog next and make it for a friend of ours who has a pet hedgehog named Winston. So by cobbling and altering other pieces of the pattern I have I totally created a hedgehog.


the body is meant to be a bit rounder than the pattern called for so I made a new pattern piece for it.
I also altered a pattern piece for the face


so cute already!
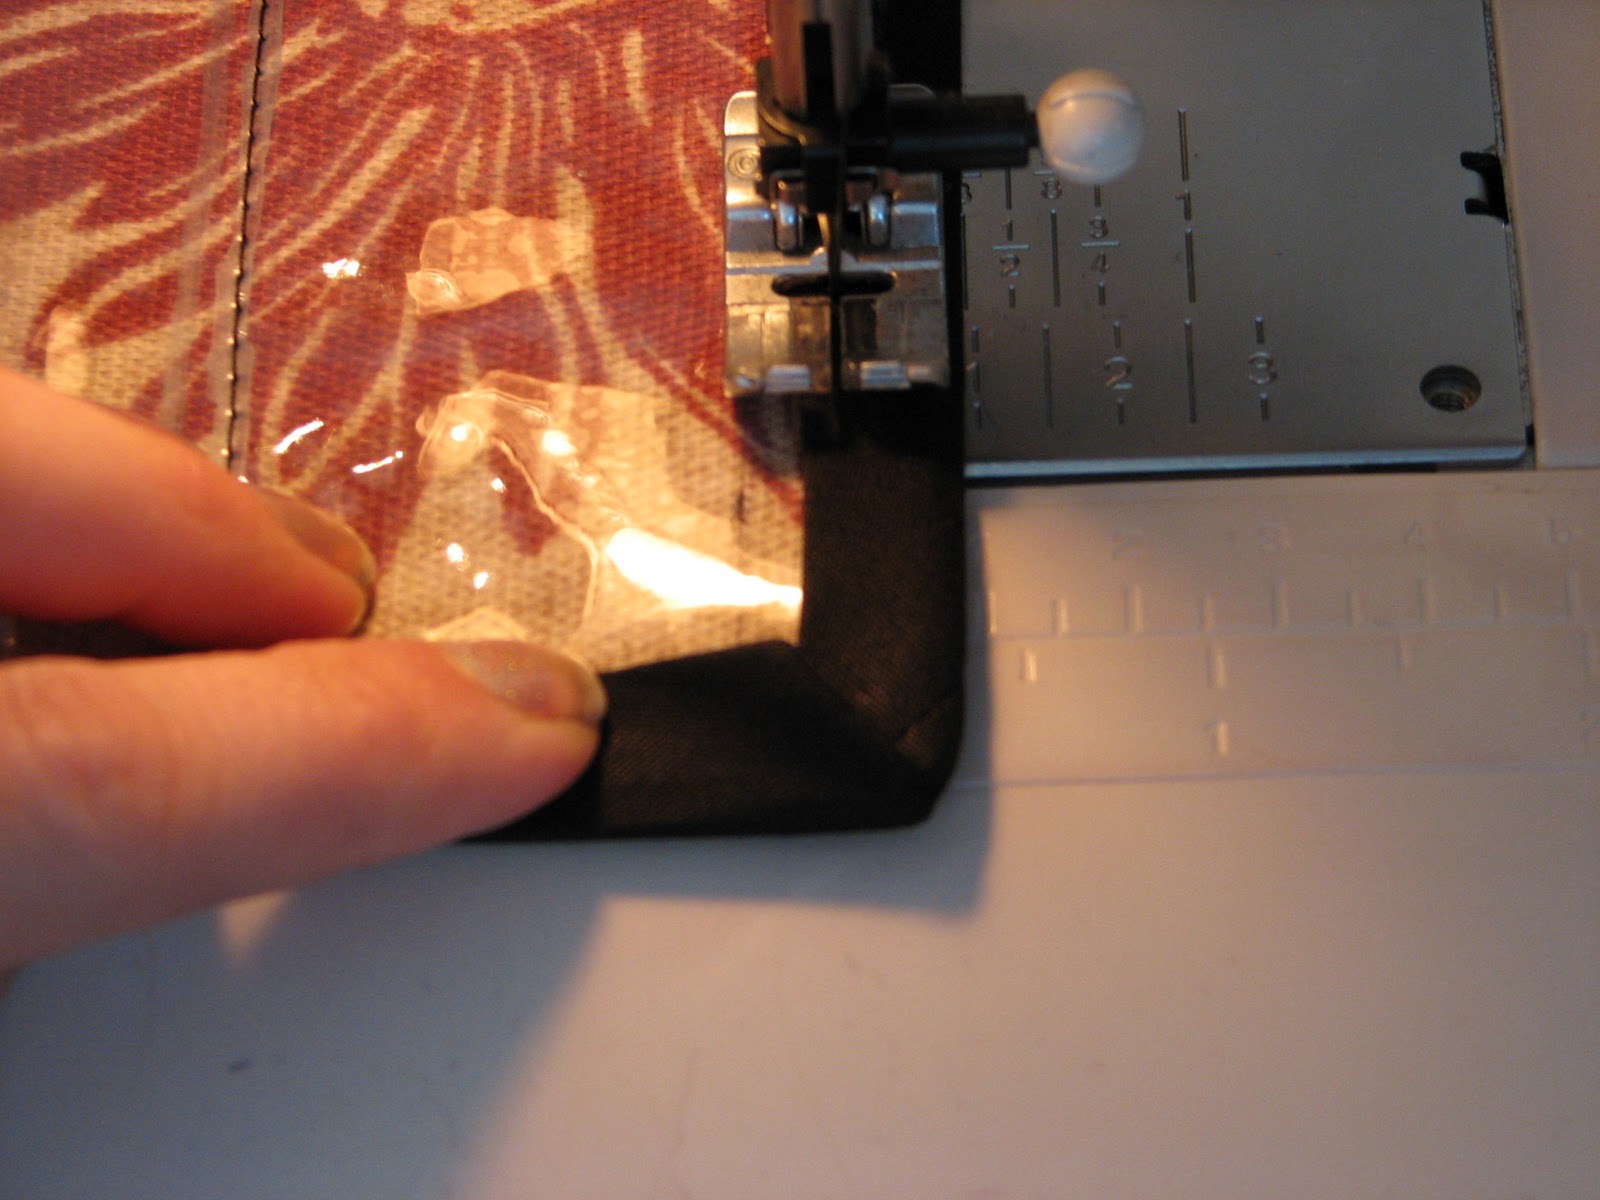
the limbs were a bit of a challenge, but I figured them out and even though it was a tight turn, I made it work.

me using my scissors as a turning tool, because obviously that's a great idea >_<

Here he is! In ALL THE CUTENESS!
and we named him Churchill, because what else would you name him?
Here he is all pinned out.

And that's it for today, no Spartan for you, I've been too busy packing and what not to get another one made.
I will not be posting on Wednesday, I would have just gotten home and will be seriously busy sleeping off the drive and then going to see an opera.

See you all next Sunday!

Wednesday, March 23, 2011

You've Got To Be Joking

Really bad pun, I know, but oh well. Maybe the awesomeness of the project will make up for it, yah?

This is actually two different projects, for two different people, who don't even know each other, done about a year-ish apart. Funny how these things happen.

Up first!
When the Dark Knight movie came out my brother (2 of 3) really liked the Joker's outfit, he requested that I make it for him for Halloween. Now normally I won't charge family to sew for them, I might ask a favor in return or some such something, but for this it cost him in other material ways than putting cash in my hand, because I made everything except the shirt and tie. That's right, I made a full three piece suit and over coat (I kind of want to steal the over coat, it rawks!)

It was really funny shopping for materials for this project (he's going to hate that I told this story) you see, he's colorblind, which makes it hard to get his opinion or help picking out fabric. The following conversation happened...
me: we're looking for Royal Purple fabric.
he: what about this fabric?
me: Sam that's blue...
he: oh

We did this a few times before he just quit trying to help. I also did his makeup and hair, which turned out pretty good, not as good as I would have liked, but not shitty either. Some bonding even happened...

Next is a Harley Quinn costume I made for a friend (who shall not be named) it's the first time I had worked with this kind of material and this sort of costume, I thought it turned out ok.

I was particularly proud of the wrist ruffs, they turned even better than I had expected (which happens from time to time, I have that "Holy shit, it worked!" moment) unfortunately she had me alter the hell out of the costume when I got it to her and so it did not have the nice smooth lines I had been going for. (which still kind of bothers me, but whatever, can't fix it now)

Enough of that though, I have another Spartan to introduce to you! This little guy will be finding a home with my mom (for he is number 7 and that is the number she chose) he shall be called Phineas and he shall be adorable!

There you go mom, just for you ^_^

That's all for today, see you Sunday!

Sunday, March 20, 2011

Well That Is... Interesting

I blame BJ for this one, I really do...

It's been a while since I have made cross-stitch graph, a long while actually (read as, I don't remember the last time I did...) and so when BJ sent me a picture he found online of a cross-stitched Hello Cthulhu I made the squee noise and wanted to throw things at him (because I did not need another project! No really, I didn't) Now many of you will probably know what Hello Kitty is, The cuteness; Not many of you, I suspect know of Cthulhu (feel free to correct me), The Elder God; Now that you're edjumacated on the subject, meld the two things together and see what YOU come up with.

The picture of the cross-stitch was pretty cut and dry, making it easy to copy, and I have a zoom screen function on my Netbook that was very handy for the more difficult spots. So I borrowed a pad of graph paper and set about marking off the general shape and picked colors close to what I wanted and then made a legend for the color/symbols. All in all this took me about a day to completely copy and now I have it laminated to be used at a later date, because I really ought to do the Ireland road trip map project before I do this one (Matt, I'm going to tie you down so you can't get away from helping me draw out the route for that thing, seriously, I'll do it if I have to)

just starting to take shape

 getting closer and even a little color

OH THE ADORABLENESS!

And just because this post would be far too short with just the project above (and because obviously I can't have just 1 or 2 or even just 5 projects going at a time) I have made the first of the pin cushions!
Here he is in pictures...
 Eyes! I sewed them onto a bit of scrap paper to stabilize them

Beak! It's like a tiny hat, teehee!


Wrong side out owl is wrong side out


Completed and signed. I am the maker of the cute!
I had to hold him down because he is weighted with sand and if I let go he'd pop right back upright, it amused me (so much so I laid him down and let him pop up several times before actually taking the picture... don't judge me)
And he has been dubbed Mike, short for Mycrathene Whitneyi which is the Latin name for the Elf Owl (because Catt's creatures can't have short names, lol)


And now a very special offer from The Crafting Asylum just for you! If you love my little owl (or any of the other pin cushions on the pattern) you can own a custom, one of a kind creation by me! That's right, I will make one for you. For $5 plus shipping (shouldn't be more than $5 for shipping) you can choose the one you want and I'll pick fabrics from my stock or for $10 plus shipping you can pick the one you want, the fabrics, and how you want them (I will send you photos of all fabric available) and for $15 plus shipping I will design and make a creature just for you (or alter one of the patterns I.E. the owl could be a penguin with a few tweaks)
This is not a joke, I'm serious, if you would like to own one of my little Pin Babies leave me a comment and we'll go from there.

Alas, I have no Spartan to introduce to you today, I have been too busy with work and other things to work much on it this week. I should have one if not two to show you by Wednesday.

That is all for today, I will be making the other pin cushion I have planned at some point, but not today dearies, the rest of my day will be spent reading or crocheting before the insanity of packing begins on Tuesday.

Craft on everybody!

Wednesday, March 16, 2011

When Seamstresses Procrastinate

Is it possible to have productive procrastination?

While going through and reorganizing all of my crafty stuff for the move back down to TX I came across a few things; the first being the heinous (sorry mom, but it really is awful) fabric mom sent with the Quick Yo Yo maker


and I thought to myself "Self, this material has the Ugly Puppy potential, what can we make out of it?" then I found my pin cushion pattern which has multiple cute things to make (it's where I got the pattern for Psycho, my turtle pin cushion)

So looking at the pattern and the fabric and the small scraps from my WotY skirt I just made, I decided that the bird would be a good choice for the fabric. I showed it to my housemate and she mentioned she liked the owl and made pouty face at me (though we're both sick right now, the pouty face might just be a cause of that... not really sure) So now I must have the ugly bird and she must have the owl (all from scraps even) I decide to finish the reorganizing before I get started and come across 2 sleeve linings from OTSL last season...
(stupid squirrels)

Crap now I want to work on those, because obviously I NEED to have electric pink gothy bell sleeves RIGHT NOW. (my brain, it is fuzzy sometimes) So I set them aside and continue reorganizing and I come across a halter top that I love but has a hole that needs fixing.

SHIT! Now I want to get that fixed too.
AND THEN I come across my Cake or Death workout headband I haven't gotten the chance to wear because I need to extend the elastic on it...

*sigh* I guess it's a mending sort of day then, eh?

I'm still going to start with the sleeves. Why? Because I want to, that's why.

What I'm planning for the sleeves is to turn them into free floating sleeves (kind of like arm warmers) to wear to the club, because honestly where else would I wear electric pink sleeves??? I may add trim if I find some I like, I may embroider on them at some point and I'm probably going to add garter straps to the top edge to keep them up. What I'm doing with them right now is altering them to fit over my biceps and it's not that I have massive guns or anything, these were cut out wrong.

Because that's what happens when you have someone "helping" that doesn't know what the feck she's doing. Last Season at OTSL it got crazy towards the end of the season, we had so many Over Hire people in the shop because we just couldn't do everything ourselves, there weren't enough hours in the day or days of the week to do it. SO the team I was on got 2 Over Hire people and one of them got assigned to help the Firsthand cut out sleeve linings. Instead of using the pattern to mark the seam line and cut an inch out from the edge she traced the pattern and then marked an inch in from the edge, thus making a tiny sleeve lining. I figured out this mistake while staying late trying to get the sleeves put together, my Firsthand was less than pleased, there was enough material to cut out another pair and I got to keep the small ones.

Yay me!

So, first thing is to alter the width...

and then I closed up the seams on the hand end so that I didn't have unfinished seams hanging out.

and that's really all I can do for now, at least until I decide exactly what I'm doing with it.

I mended the shirt and altered the headband and the pin cushions will be another post on another day, so today I have gotten all these things done and none of it is what I had planned to do. What I planned to do is a bit of a daunting task, making a dress out of stretch velvet, so is it really possible to be  productive and seriously procrastinate at the same time. Why yes, I do believe it is.

Ah well, these things happen. At least I didn't just sit around all day like I really kind of wanted to.

Til next time!

Sunday, March 13, 2011

What Time Is It? Tutorial Time!

That's right my dears, I (the insane) Jessica have a made a tutorial just for you. (it may be completely useless to you, but it was made with love none the less)
I have been needing a jewelry travel roll for some time now and I have finally managed to scrape together the supplies to do it.

~*~What you'll need~*~
Thick-ish/ sturdy fabric enough for two 12.5 inch by 24 inch pieces
enough clear sewing vinyl for one 12.5 inch by 18 inch piece and one 12.5 inch by 16 inch piece
1 package extra wide double fold  bias tape (3 yards)
one roll of ribbon (I used 3/8 inch wide, almost any width can be used) you won't use the whole thing, but it's good to have
Fray Check is good to have too
Standard sewing supplies (scissors, clear ruler, pins, sewing machine, chalk wheel)
A sharpie is handy too for marking the vinyl


Step 1: Cut out the fabric and the vinyl (see above measurements) and two 12.5 inch lengths and two 27 inch lengths of ribbon (fray check them now so they have time to dry) and two 12.5 inch lengths and three 3 inch lengths of bias tape
Step 2: 2 inches from the top, mark a chalk line (this is Ribbon 1) 2 inches down from the first line, mark another line (this is Ribbon 2) 2 inches down from the second line, mark a third line (this is Vinyl 1) And once more with feeling... 2 inches down from the third, mark a fourth line (this is Vinyl 2)
you can kind of see my chalk lines... kind of.
The 2 fabric pieces should be wrong sides together at this point.
Step 3: Pin ribbons 1 and 2 across their lines and then from the left mark R1 2 inches from the edge and then every 1 inch after all the way across. Again starting from the left, mark R2 1.5 inches from edge and then every 1 inch after all the way across, leaving 2 inches on other end.
Step 4: Sew down ribbon on all marks, sewing through both layers of fabric.

Step 5: Mark V1 with vertical lines every 2 inches across (the last section will be 2.5 inches) Sew 12.5 inch lengths of bias tape across top edges of V1 and V2

Step 6: Lay V1 and V2 on top of Fabric pieces, lining the tops up with the chalk lines (they should line up anyways) Sew on the vertical lines starting at the top edge of V1 (sew through all layers)

Step 7: Sew bias tape around the edges (encasing ALL THE THINGS)
~*~Turning corners can be tricky if you haven't done it before.
Sew up to about an inch from the corner
fold the bias tape around the corner (the edges will stick out)
smooth the bias tape back down creating a clean crisp corner

continue sewing as if nothing spectacular has happened, but you'll know how awesome you are
~*~
Step 8: Sew shut the open edge of the 3 inch lengths of bias tape then fold each in half and sew as close to edge as possible. Turn so that sewn edge faces inward.
Step 9: take loops and squish like in the picture...

with seam in one of the points (these are the hangers)

Step 10: pin squished loops to back side of top edge. Fold 27 inch lengths of ribbon in half and crease. Pin crease to back edge 2.25 inches from edge. Sew down loops and ribbons.
Step 11: Admire your awesome creation
Step 12: be impressed with yourself and then load up your jewelry.
(the center loop is for a coat hanger and the outer loops are for hanging it on the wall)

And now to introduce to you the newest (and most amusing) addition to my army!
This little guy is going to my friend James and so need an appropriate name...
And so he was dubbed Falikos! (and if you don't get it, you probably don't need to) here he is ladies and gents!
he's so cute!
this pic is for my own amusement, I hope you're all amused by it as much as I am.

I have also made myself a new icon for LJ and I love it, (it counts as a crafty thing, just in a different media, so there) 

And this ends today's installment of Jessica Really is Crazy. Good night everybody!!!