I have been needing a jewelry travel roll for some time now and I have finally managed to scrape together the supplies to do it.
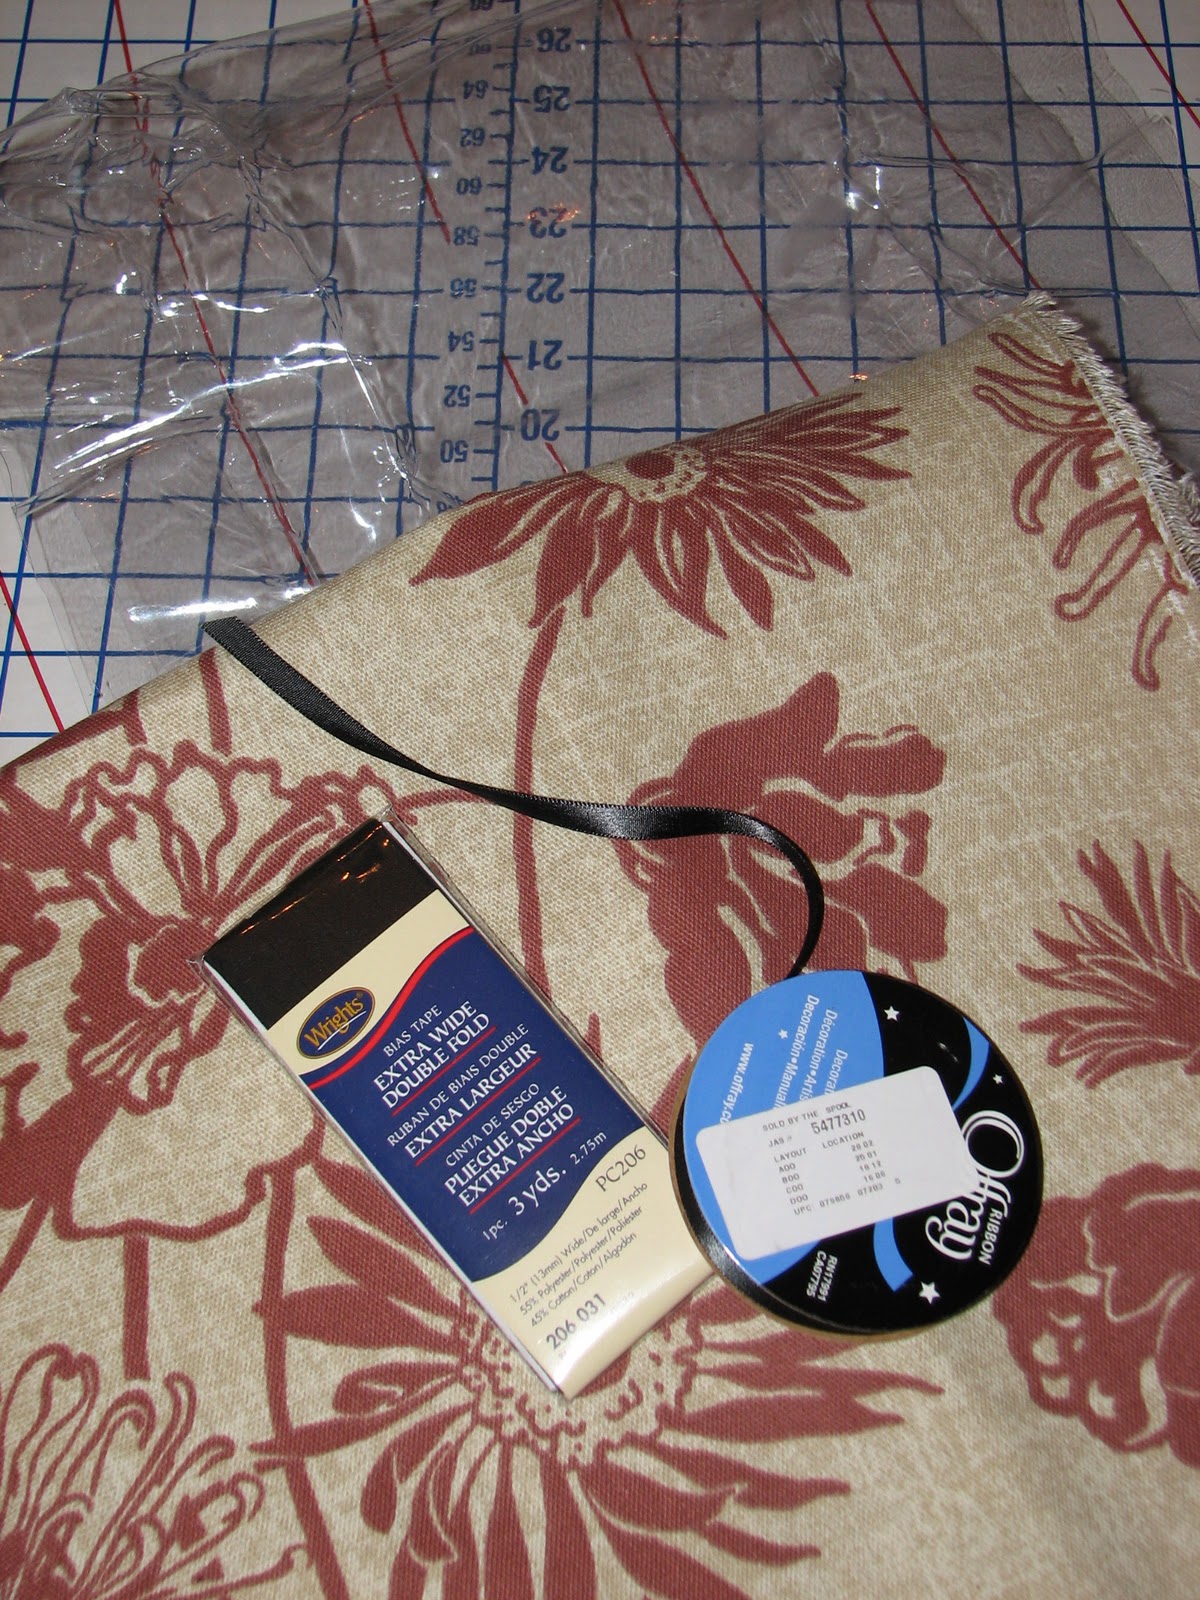
~*~What you'll need~*~
Thick-ish/ sturdy fabric enough for two 12.5 inch by 24 inch pieces
enough clear sewing vinyl for one 12.5 inch by 18 inch piece and one 12.5 inch by 16 inch piece
1 package extra wide double fold bias tape (3 yards)
one roll of ribbon (I used 3/8 inch wide, almost any width can be used) you won't use the whole thing, but it's good to have
Fray Check is good to have too
Standard sewing supplies (scissors, clear ruler, pins, sewing machine, chalk wheel)
A sharpie is handy too for marking the vinyl

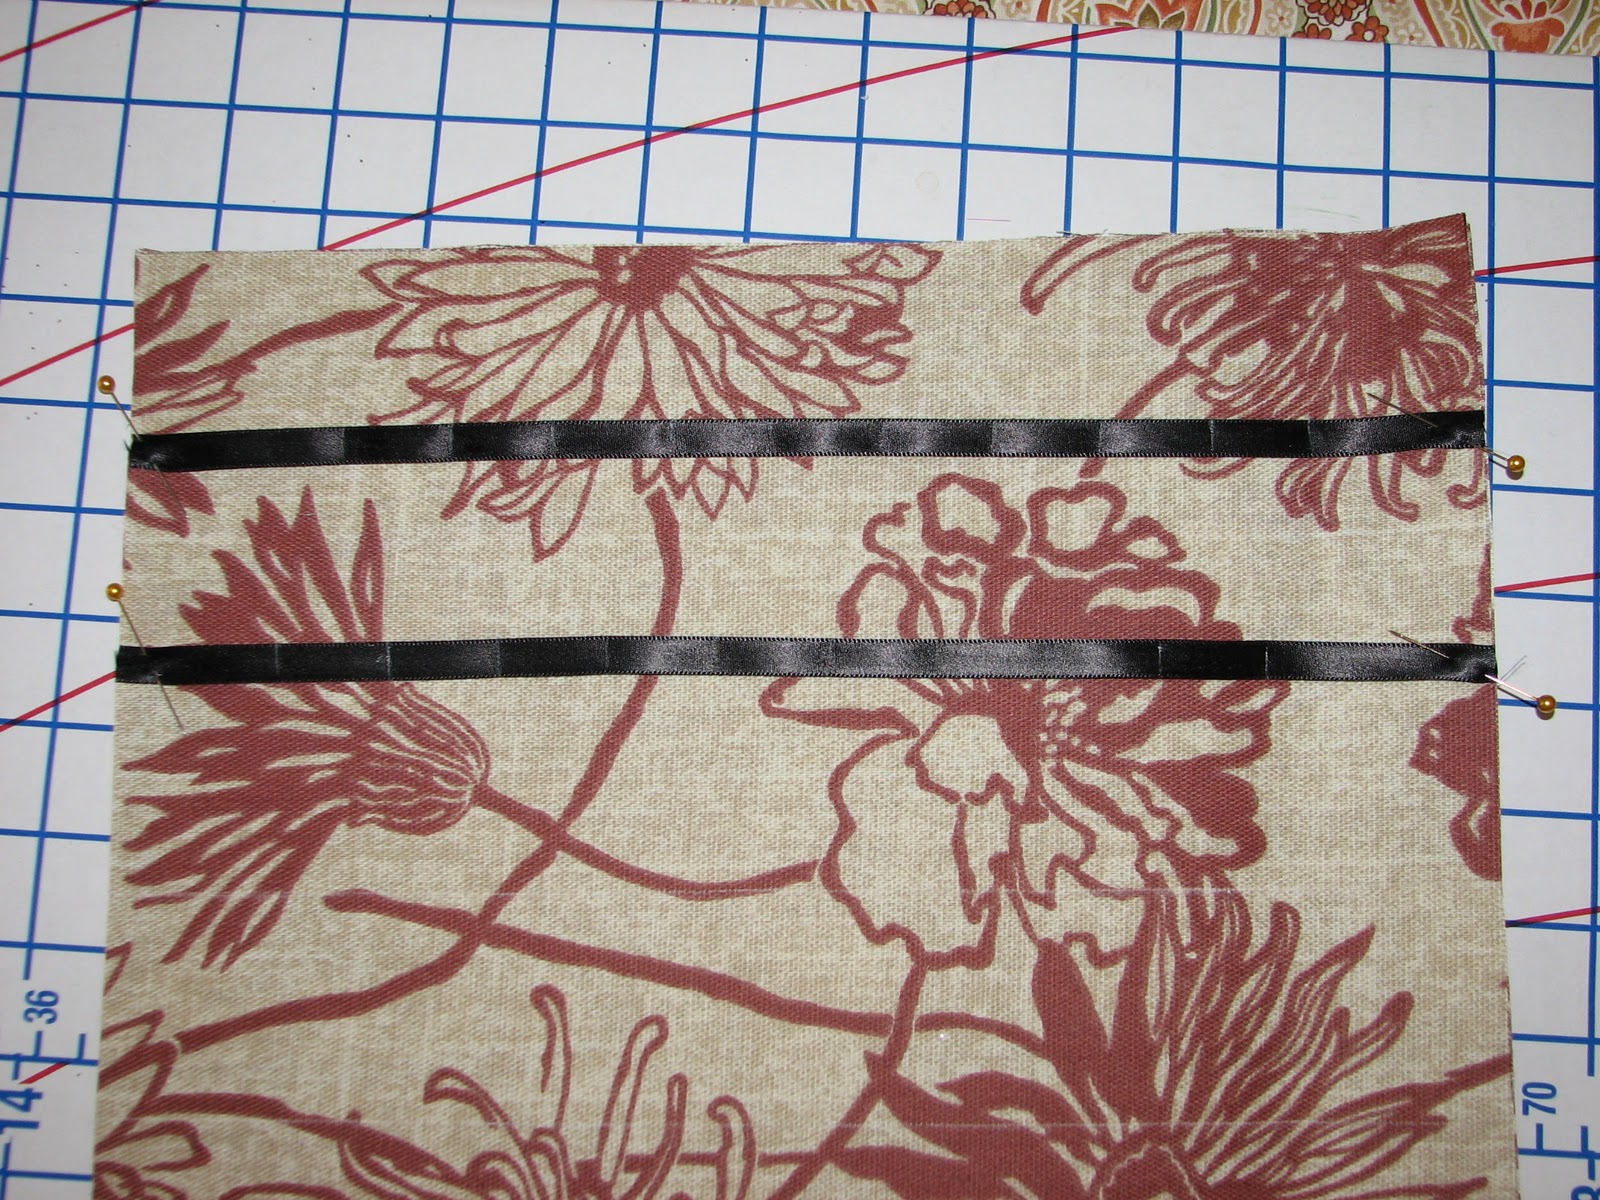
Step 1: Cut out the fabric and the vinyl (see above measurements) and two 12.5 inch lengths and two 27 inch lengths of ribbon (fray check them now so they have time to dry) and two 12.5 inch lengths and three 3 inch lengths of bias tape

you can kind of see my chalk lines... kind of.

Step 3: Pin ribbons 1 and 2 across their lines and then from the left mark R1 2 inches from the edge and then every 1 inch after all the way across. Again starting from the left, mark R2 1.5 inches from edge and then every 1 inch after all the way across, leaving 2 inches on other end.

Step 5: Mark V1 with vertical lines every 2 inches across (the last section will be 2.5 inches) Sew 12.5 inch lengths of bias tape across top edges of V1 and V2

Step 6: Lay V1 and V2 on top of Fabric pieces, lining the tops up with the chalk lines (they should line up anyways) Sew on the vertical lines starting at the top edge of V1 (sew through all layers)
Step 7: Sew bias tape around the edges (encasing ALL THE THINGS)

Sew up to about an inch from the corner


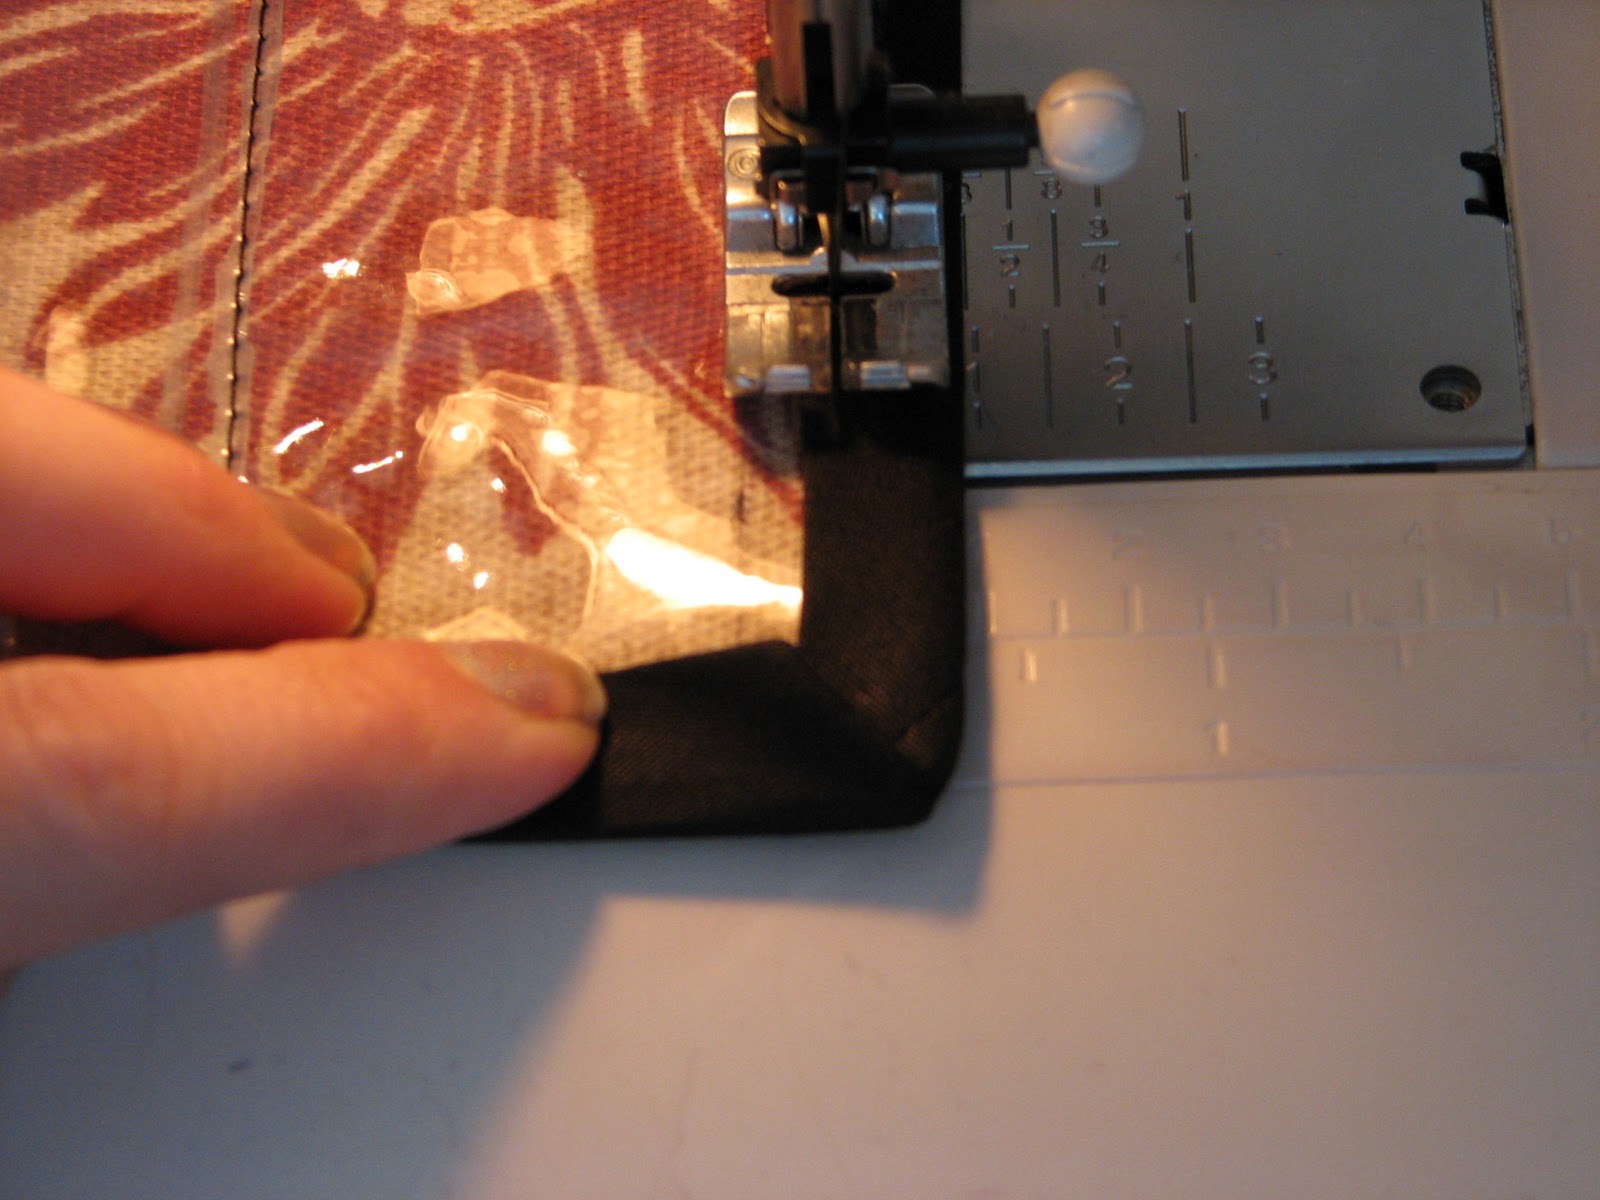
continue sewing as if nothing spectacular has happened, but you'll know how awesome you are
~*~
Step 8: Sew shut the open edge of the 3 inch lengths of bias tape then fold each in half and sew as close to edge as possible. Turn so that sewn edge faces inward.


with seam in one of the points (these are the hangers)
Step 10: pin squished loops to back side of top edge. Fold 27 inch lengths of ribbon in half and crease. Pin crease to back edge 2.25 inches from edge. Sew down loops and ribbons.


(the center loop is for a coat hanger and the outer loops are for hanging it on the wall)


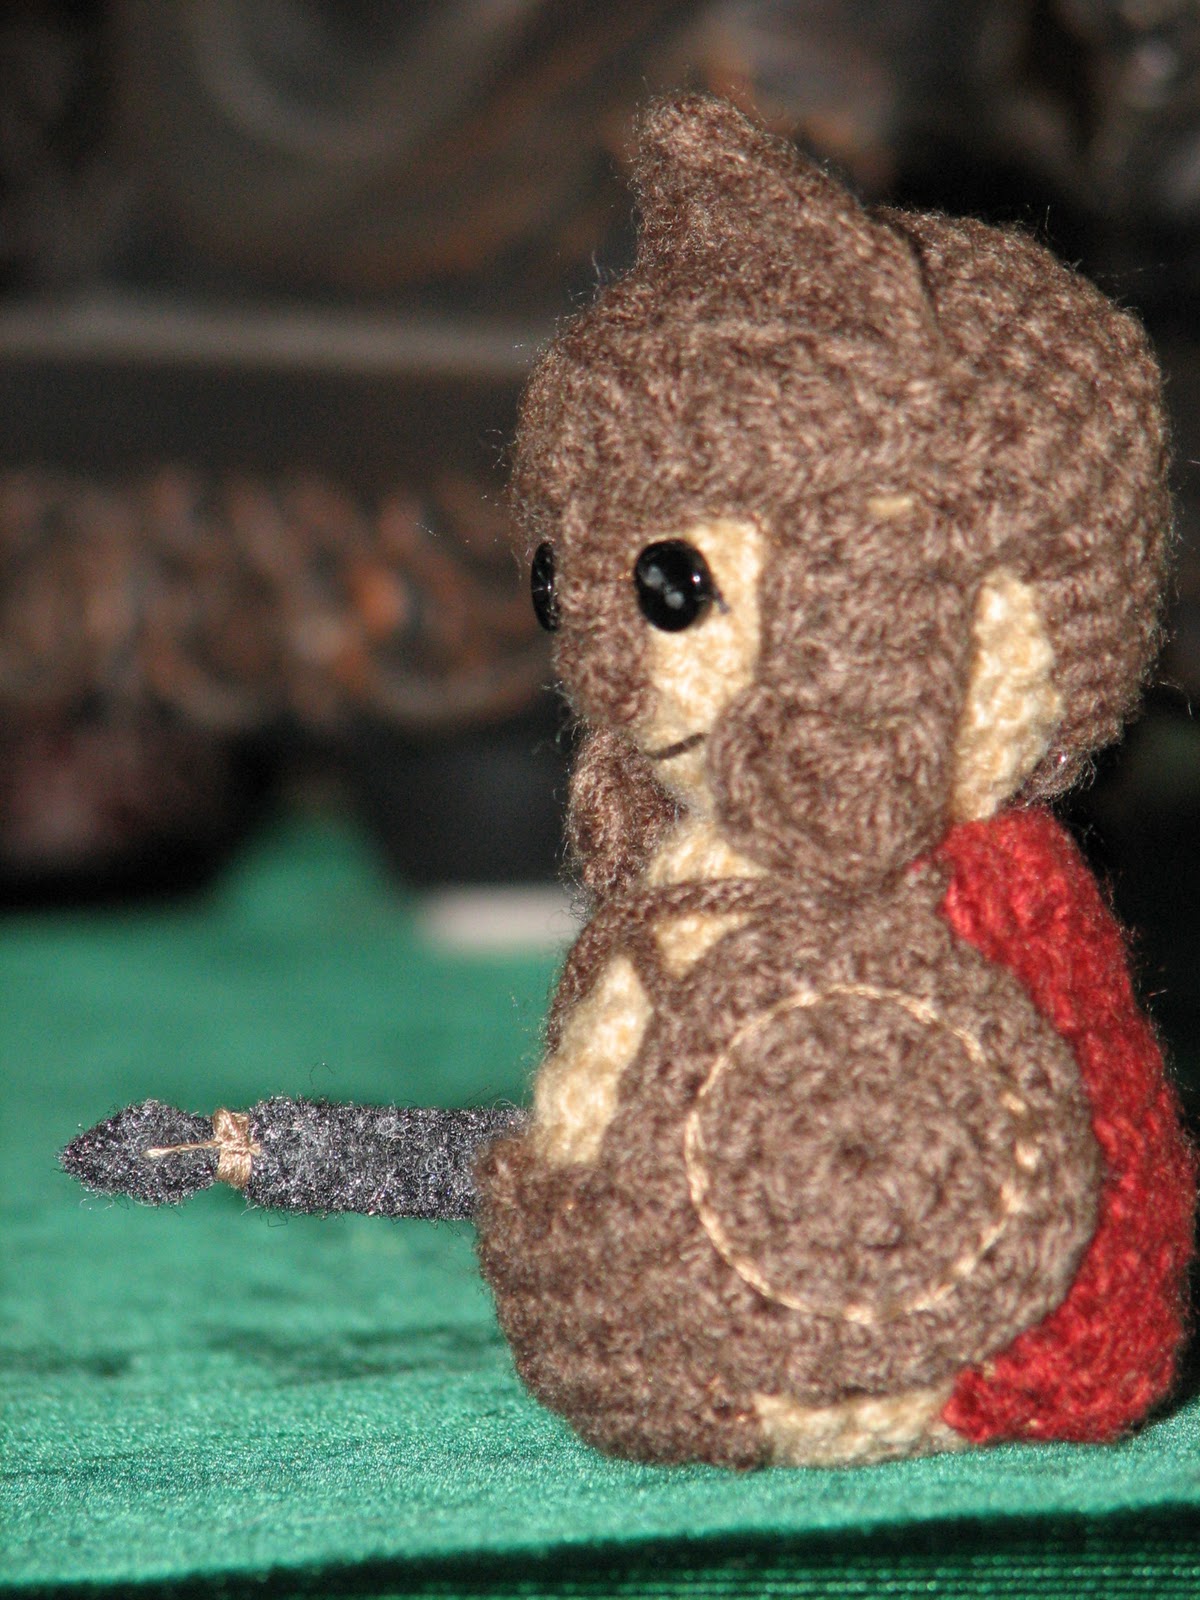
And now to introduce to you the newest (and most amusing) addition to my army!
This little guy is going to my friend James and so need an appropriate name...
And so he was dubbed Falikos! (and if you don't get it, you probably don't need to) here he is ladies and gents!

I have also made myself a new icon for LJ and I love it, (it counts as a crafty thing, just in a different media, so there)

And this ends today's installment of Jessica Really is Crazy. Good night everybody!!!
I love the jewelery roll. I don't need one currently but it's nice to know how to make one should the need arise.
ReplyDeleteThose little guys are so cute!!!